GCP Deployment
Step 1: Setting up your account
Create or log into your GCP account & select appropriate project.
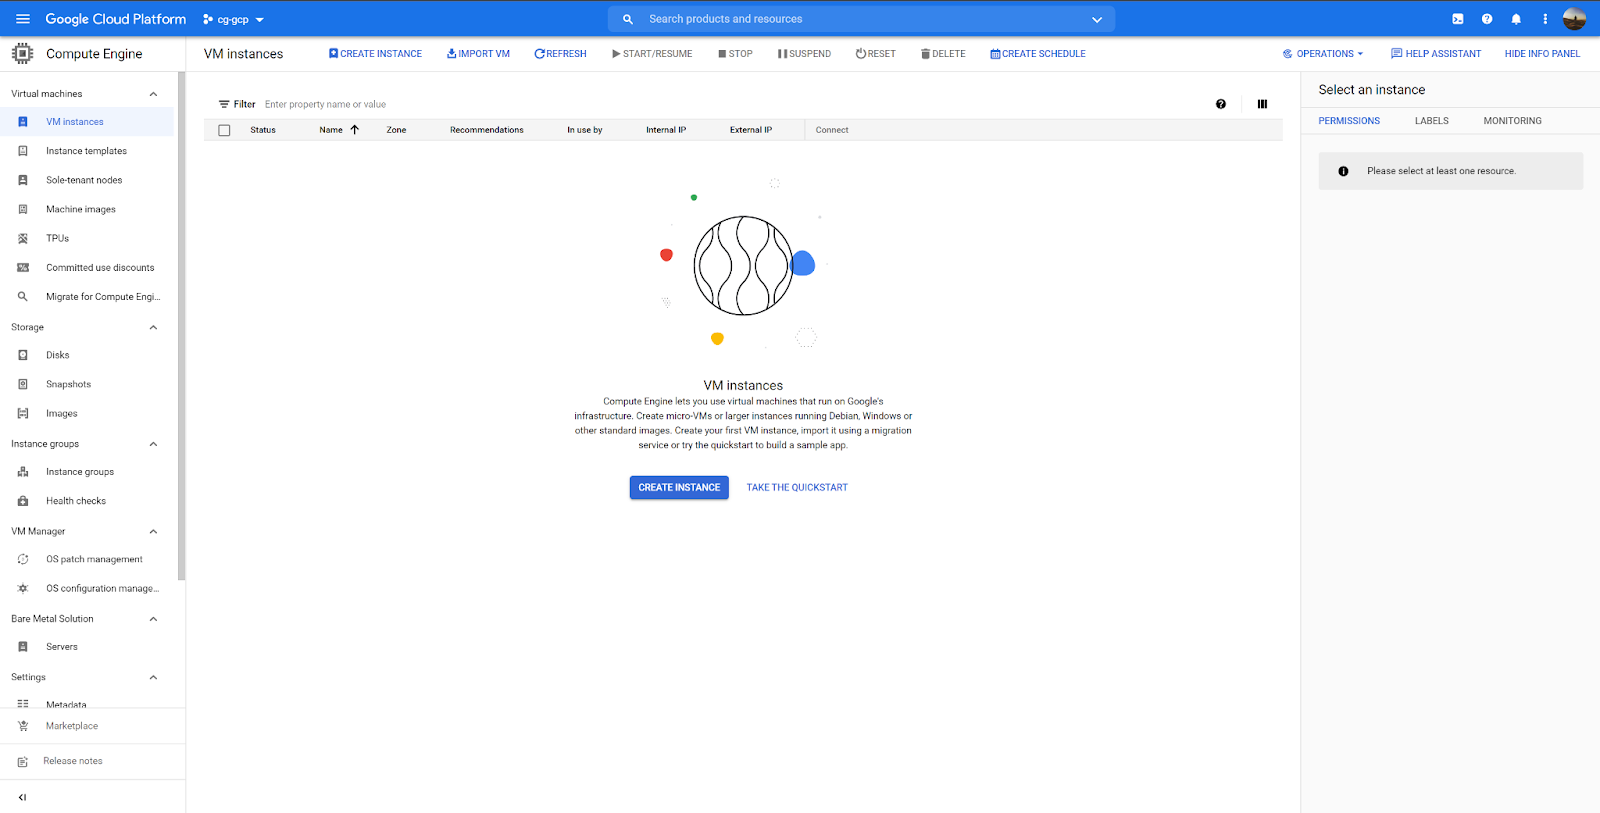
Step 2: Deploying the instance
- Enable the Compute Engine API and create a new VM instance.
- Name your VM chaosgenius
- Select your desired region and zone.
- For KPIs that process up to 10M rows, select e2-standard-4 machine type under the E2 series of the general-purpose machine family. (This will provision 4 vCPUs and 16 GB of RAM)

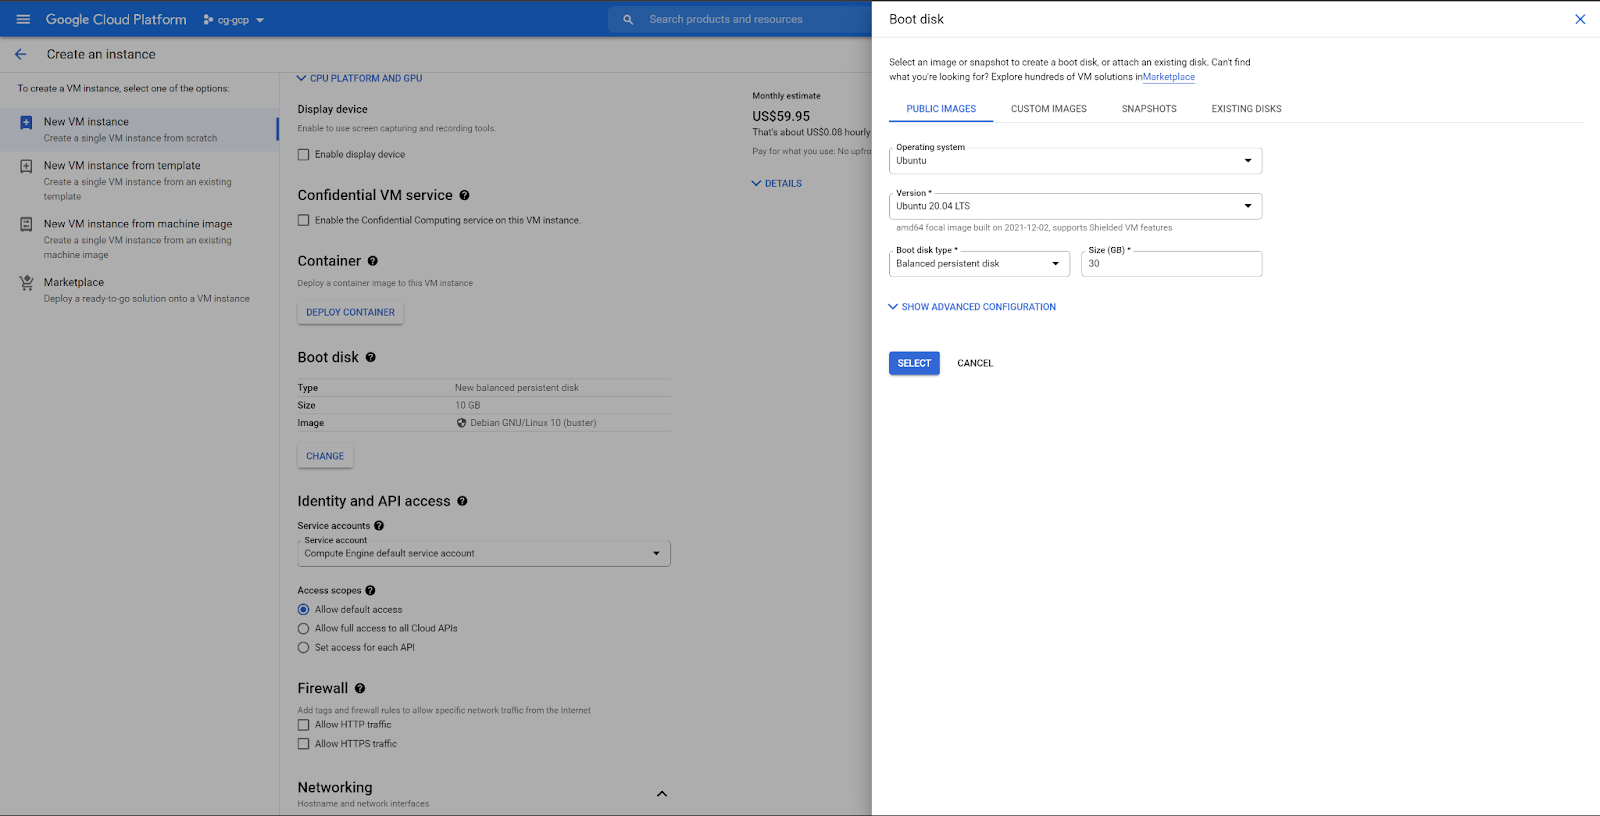
- Change the boot disk from the default Debian Linux to Ubuntu 20.04 LTS. Increase the boot disk size to 30GB. (30GB is recommended)
- Click on Networking, and under network tags, type in chaosgenius as a tag.
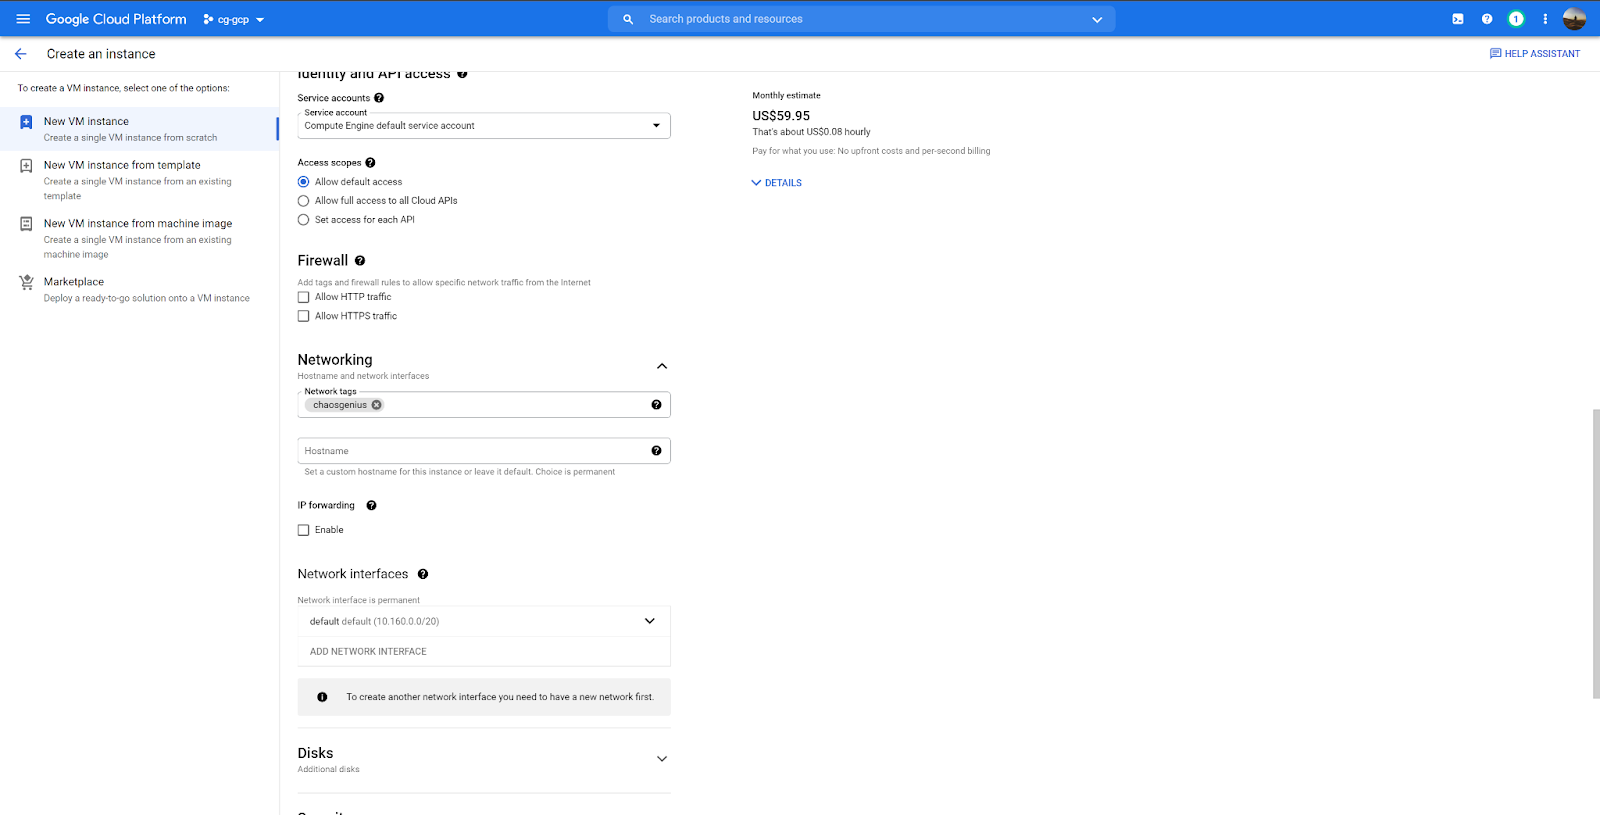
- Leave the other options as default and create the instance.
- Wait for the instance to be provisioned.
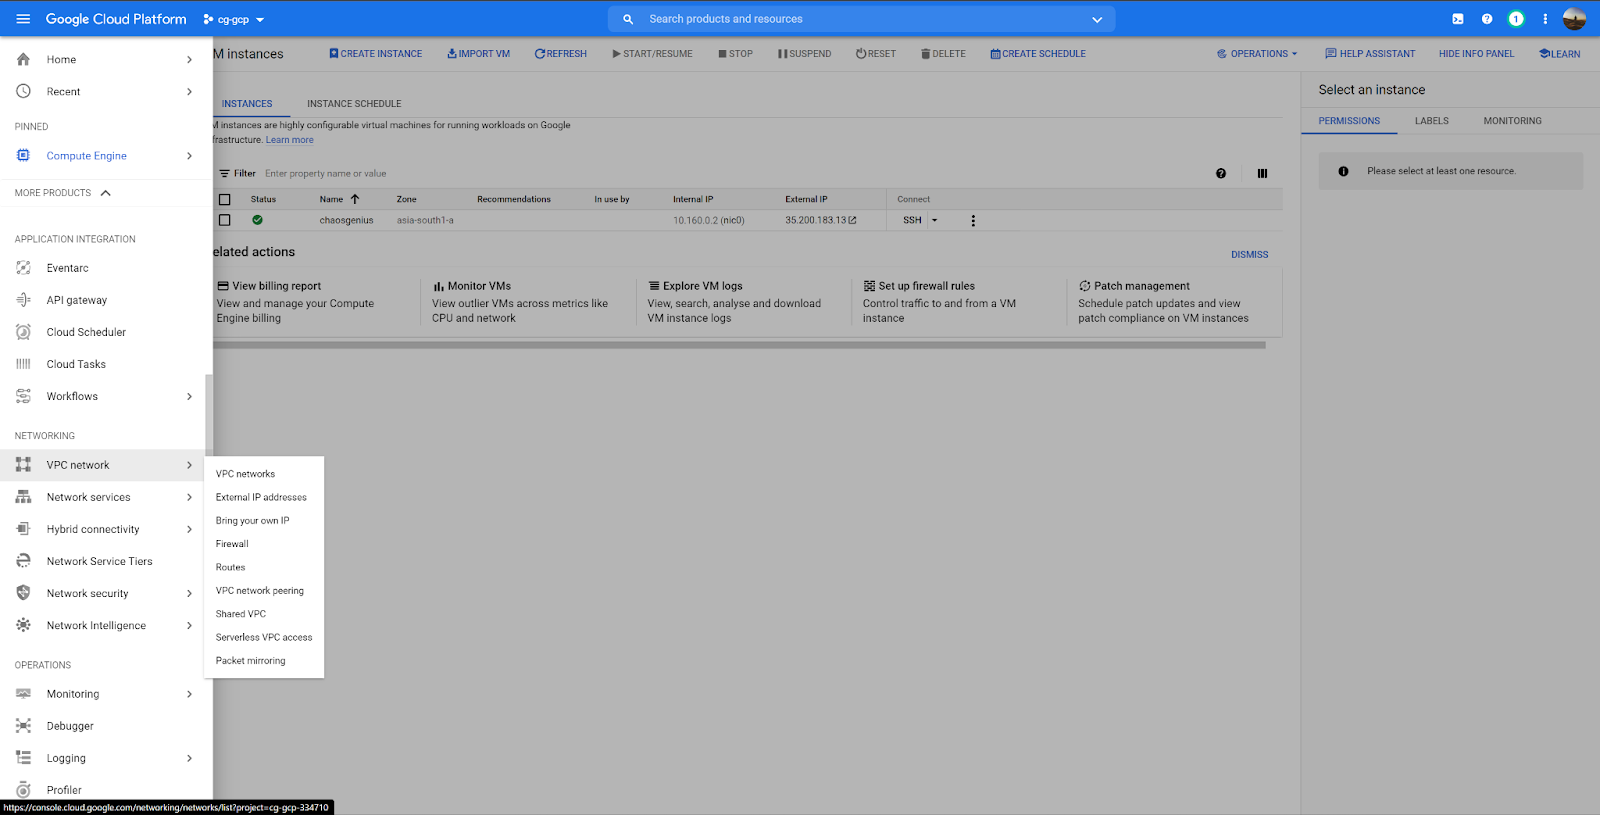
Step 3: Configure GCP Networking and Firewall
- From the GCP console sidebar, Choose Networking > VPC network > Firewall.
- Choose "Create Firewall Rule"
- Name the rule as chaosgenius
- To apply the rule to select VM instances, select Targets > "Specified target tags", and enter chaosgenius into Target tags
- Set Source IPv4 ranges to allow traffic from all IPs: 0.0.0.0/0
- To allow incoming TCP connections to port 8080, in Specified Protocols and Ports, check tcp and enter 8080
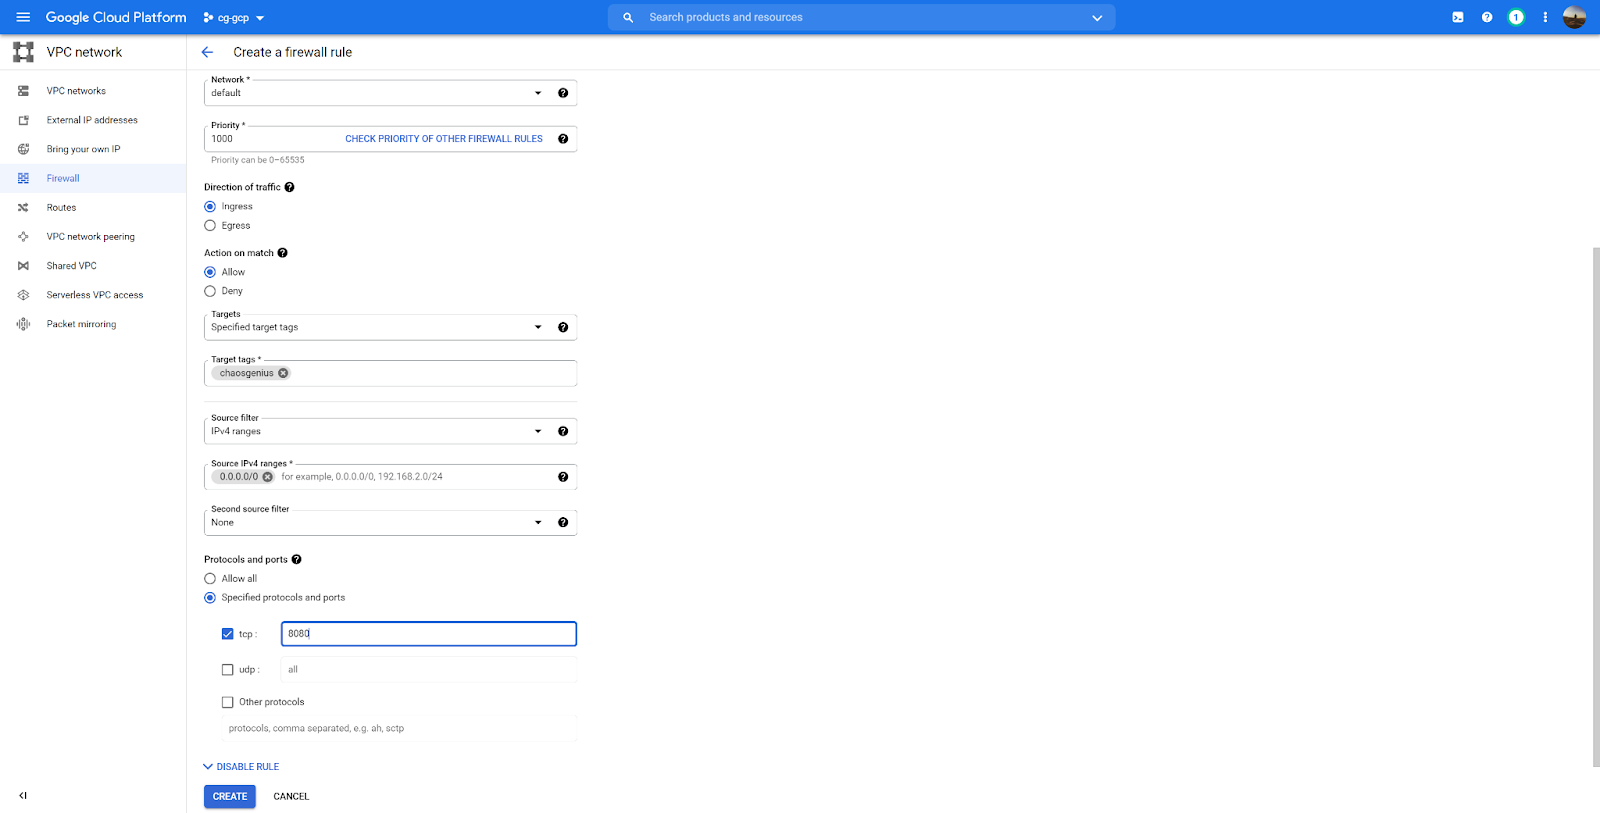
- Click Create
Step 4: Installing Dependencies
- Install docker on your machine.
- Verify your installation of docker with
sudo systemctl status docker. Your output should be similar to this: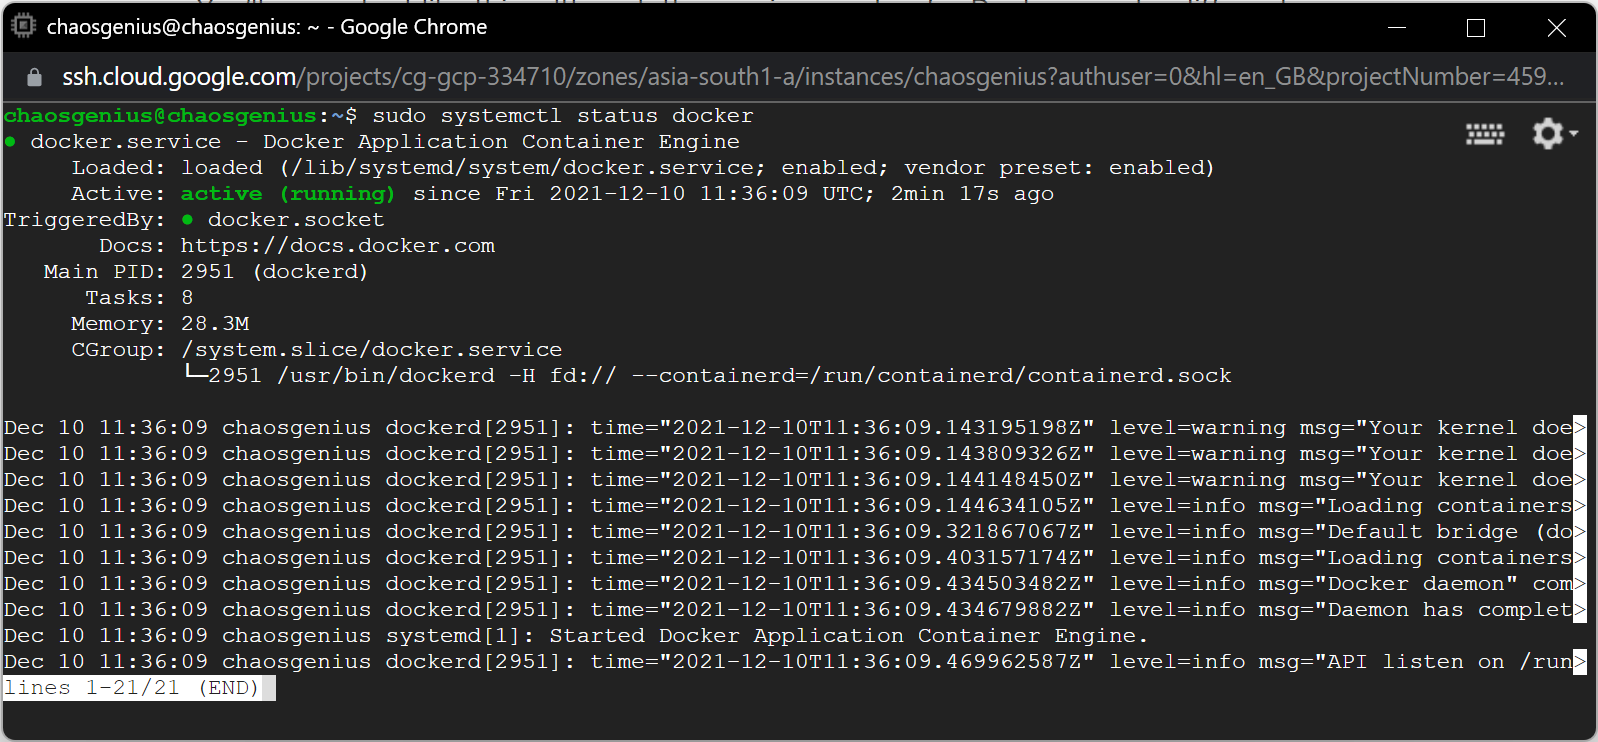
- Install docker-compose on your machine.
- Verify your installation of docker-compose with
docker-compose --version. Your output should be similar to this: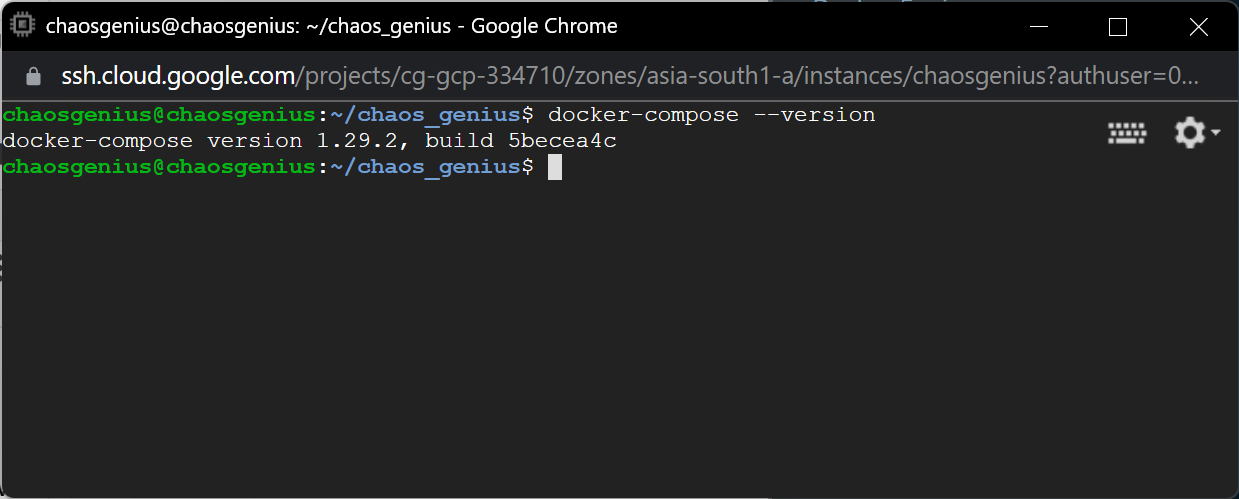
Step 5: Cloning the repository
- Clone the repository
git clone https://github.com/chaos-genius/chaos_genius - Move into the repository:
cd chaos_genius
Step 6: Start the containers
Setup all of the required parameters.
For Default Installation, bring containers to life with:
sudo docker-compose upOr you can use the detached mode, which is preferable on servers as it allows the containers to run in the background.
sudo docker-compose up -dinfo
If you also need any third-party data sources such as
Google Sheets,Google Analytics,Shopify,Stripe,Bind Ads,Facebook MarketingorGoogle Ads, use thedocker-compose.thirdparty.ymlfile:sudo docker-compose -f docker-compose.thirdparty.yml up -dTo view real time logs run:
sudo docker-compose logs -f
Step 7: Access the Dashboard
Once you see the Chaos Genius success banner, the UI is ready to be accessed at <Public IP>:8080.
If everything was successful, you should see this page at the URL:
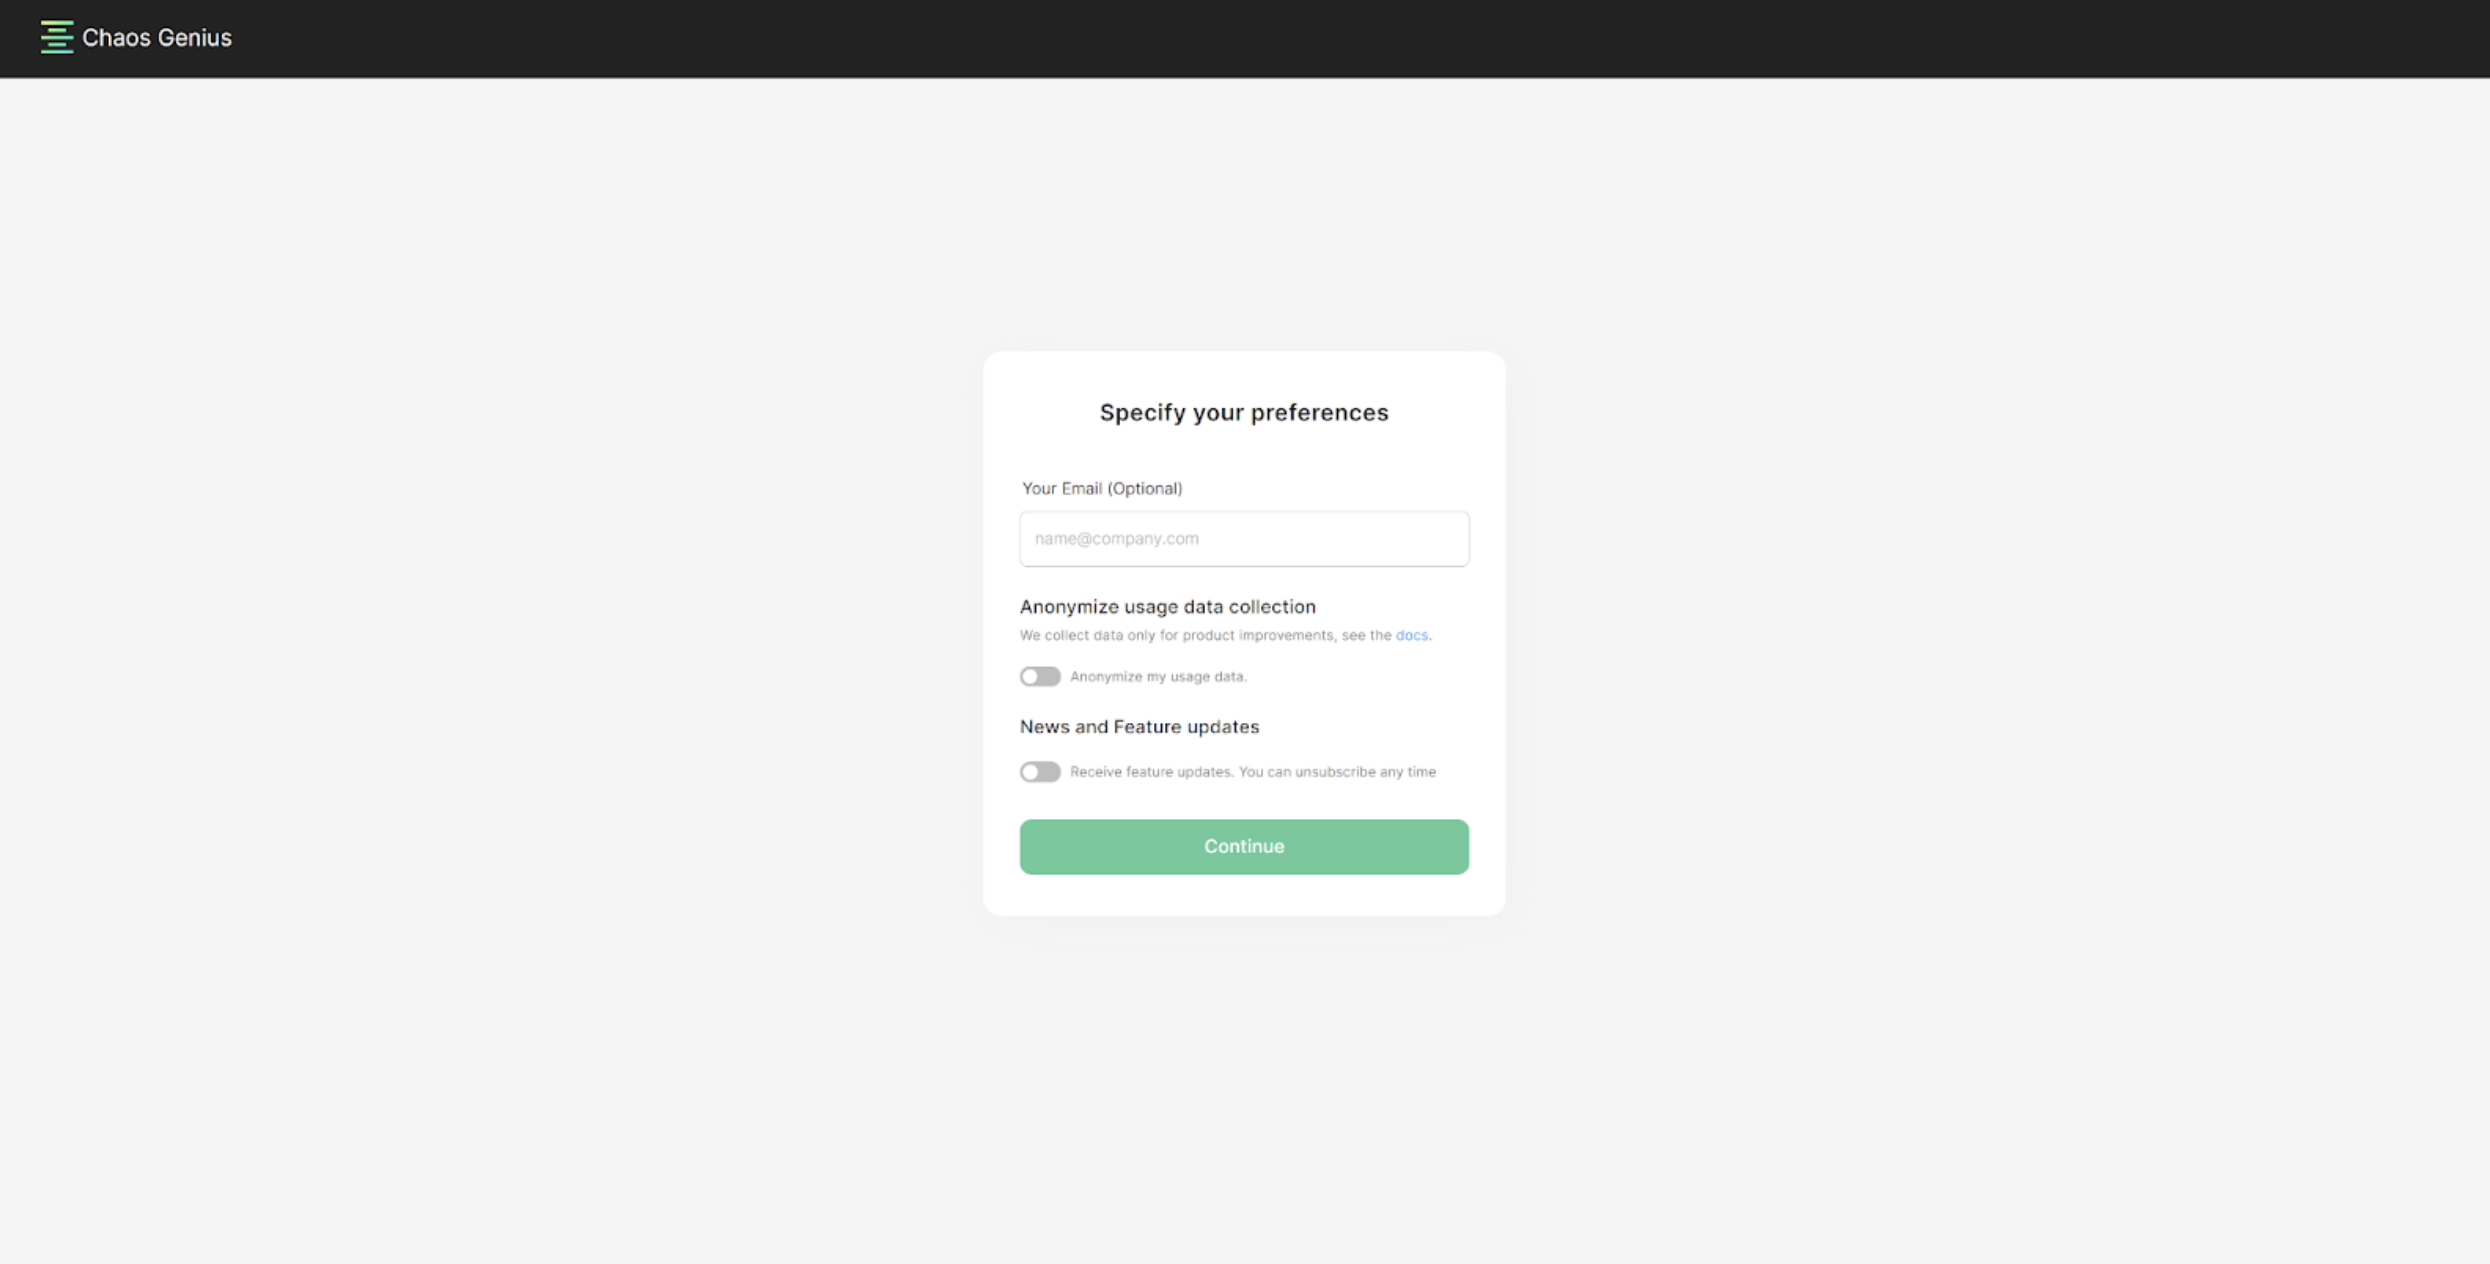
Note: Check your dashboard for your machine’s public IP.